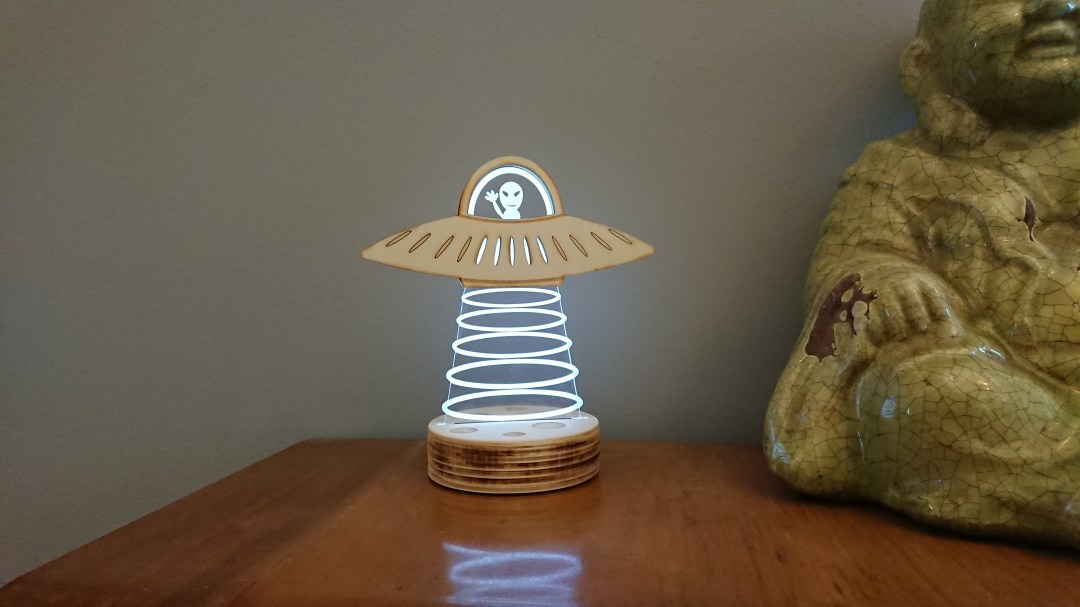
I’m still trying to build a cool night light. Here is an UFO for children or adults 😉 All done in 4mm plywood an 3mm acrylic. I used white LED’s for the test, but I think green ones would be better.
Drawing done in Inkscape.


All glued together. The small bar has to be removed. It had just the job to keep the middle part stable.


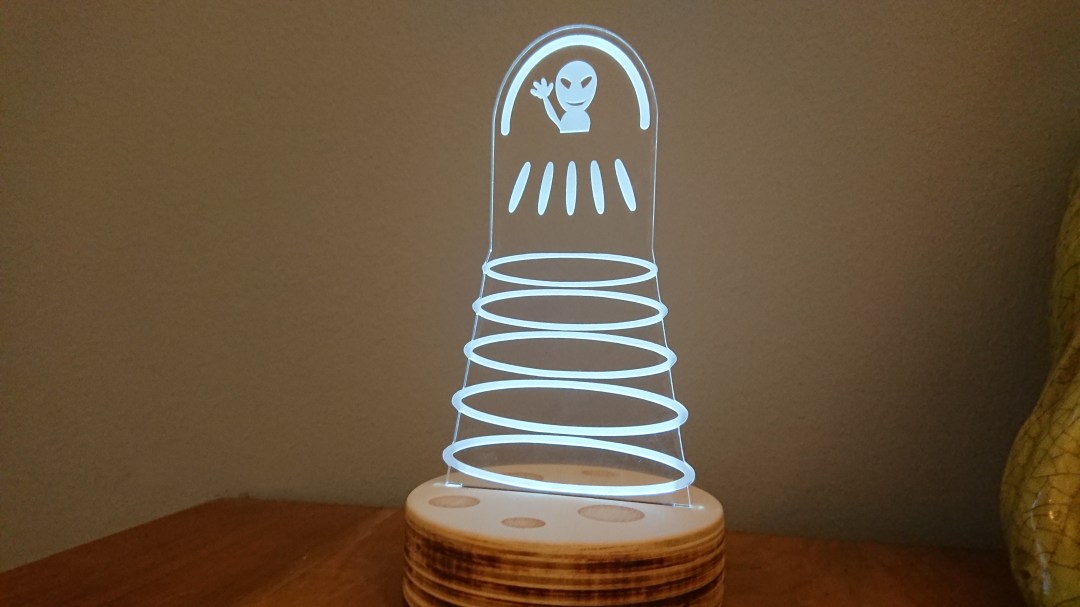
Acrylic Part in the LED base, model planet 🙂
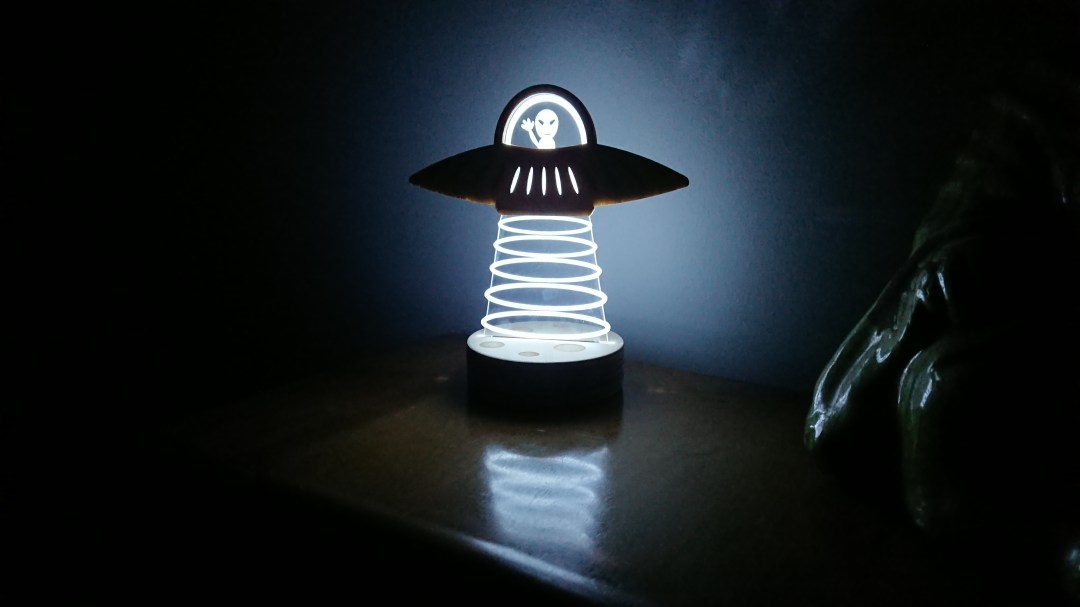
Showroom


And Version 1.1. MDF 3.5mm


The Base
For the LED base, I use my standart concept. 4mm wood glued together.
The base has a diameter of 100mm and the slot for the acrylic part is 70mm x 3.2mm

Laser Parts
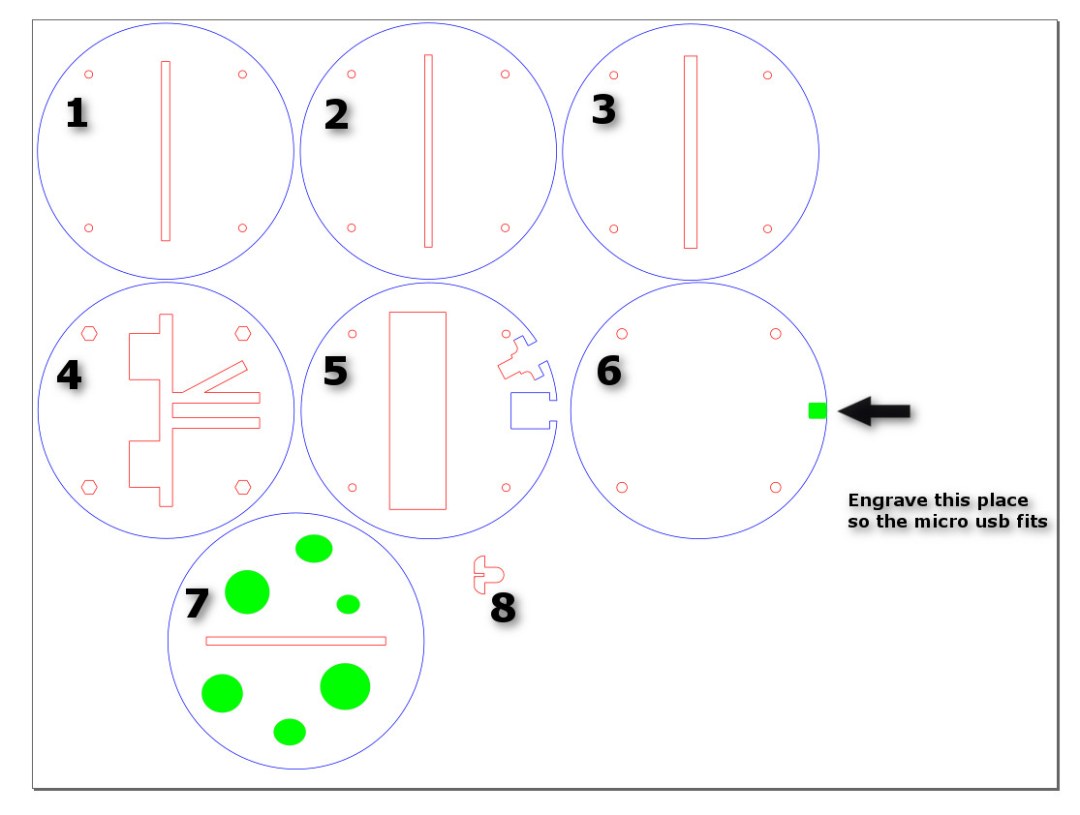
- 1-3 and 7 hold the acrylic. 7 is the top layer.
- 4 the cable passages. The M3 nuts are installed in this part.
- 5 keeps my PCB’s in place.
- 6 is the bottom cover. On the right, I engrave a little bit, so the micro USB does not bother.
- 8 is made of 3mm acrylic, and that’s the switch cover
Electronic and other parts
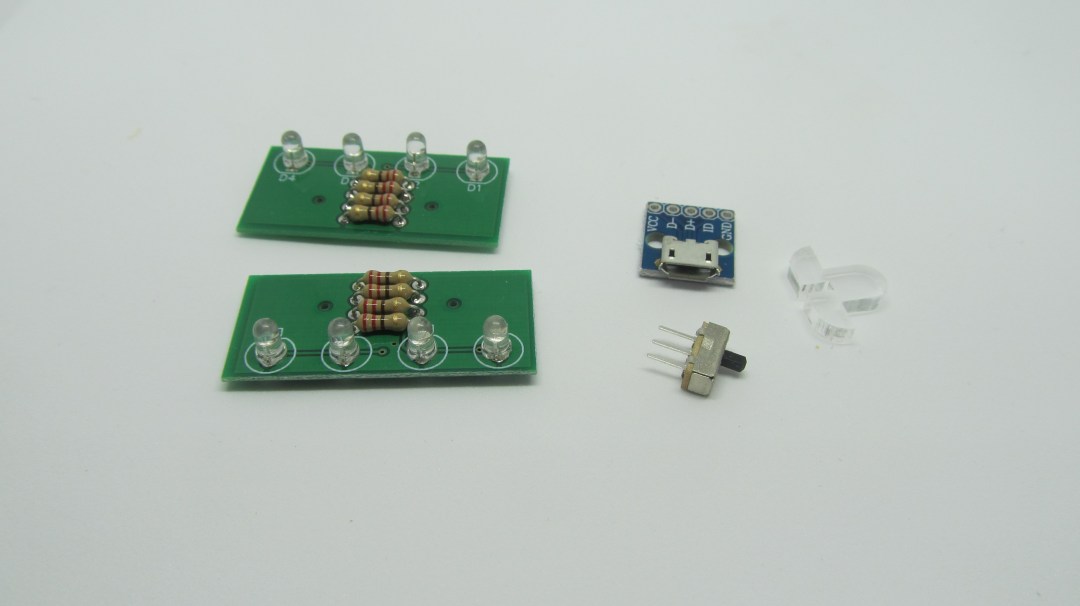
I use this micro USB breakout PCB’s and a small switch. The LED-PCB’s are my own design, but you can use Led-strips or perfboard.
4 M3 12mm srews are also needed, to srew the bottom cover on the base.
Mounting all together
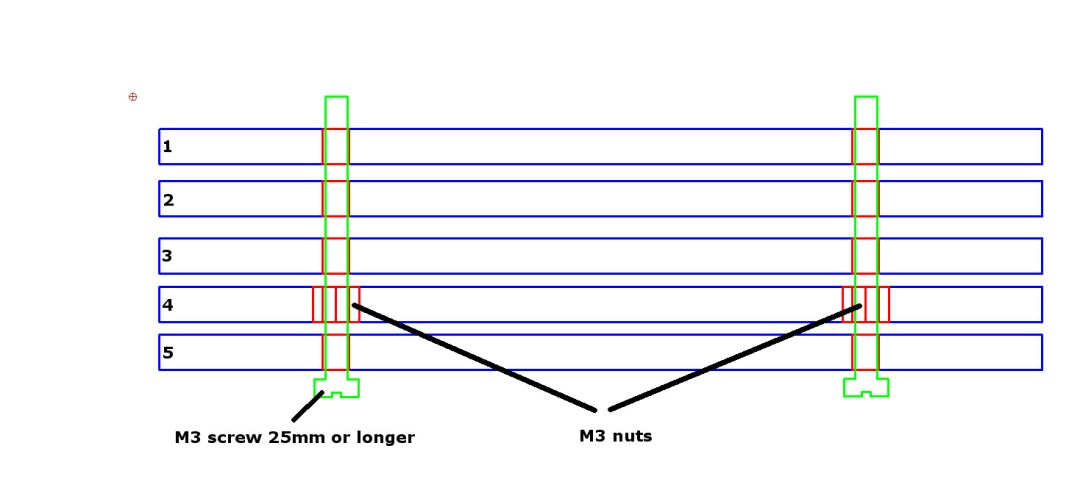
Glue part 1-5 together and do not forget the M3 nuts in part 4. I use the screws, to keep the parts aligned. After the glue has dryed, remove the screws. Glue now part 7 on the top to hide the screw holes.
Add the electronic parts an the wires.
Check my Fallout Light, it is nearly the same principle.


Screw the bottom cover on it, connect a Micro USB cable and a power supply, et voila.
Here a few of my bases:


