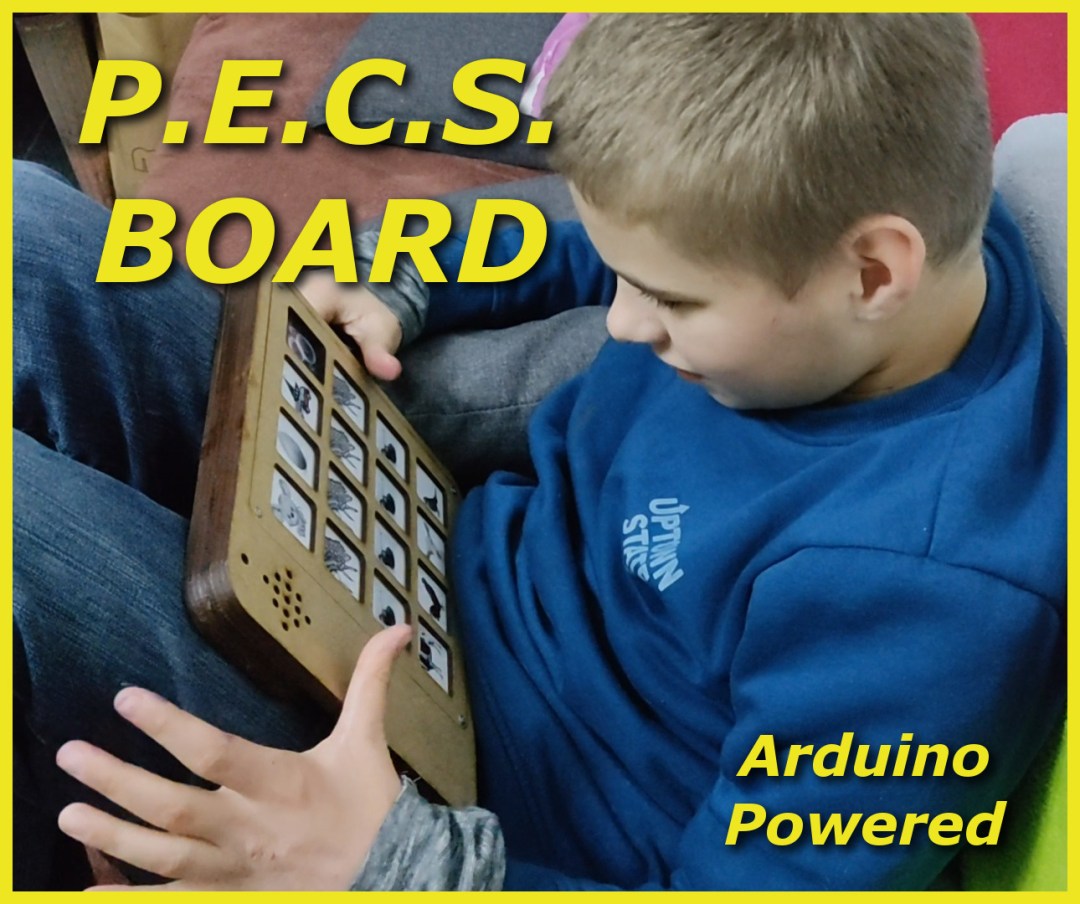
Here is the new updated version of Scott’s PECS board.
The Picture Exchange Communication System, or PECS, allows people with little or no communication abilities to communicate using pictures. People using PECS are taught to approach another person and give them a picture of a desired item in exchange for that item. By doing so, the person is able to initiate communication. A child or adult with autism can use PECS to communicate a request, a thought, or anything that can reasonably be displayed or symbolized on a picture card.
I know you can buy such boards, but they are not cheap or flexible enough. You could also use a tablet, but Scott has already smashed 2 smartphones and my tablet. This one is sturdy, cheap and has a lot of options. So you can also just make several.
I have loaded sound files onto the board so that he learns how to use the keys. And with music, everything works.
The advantage is that the buttons are assigned to individual mp3’s, and you can then easily exchange them. You can also use any language for your PECS. If you don’t want to record the words yourself, you can also use text to speech and download them as mp3’s.
How Does It Work
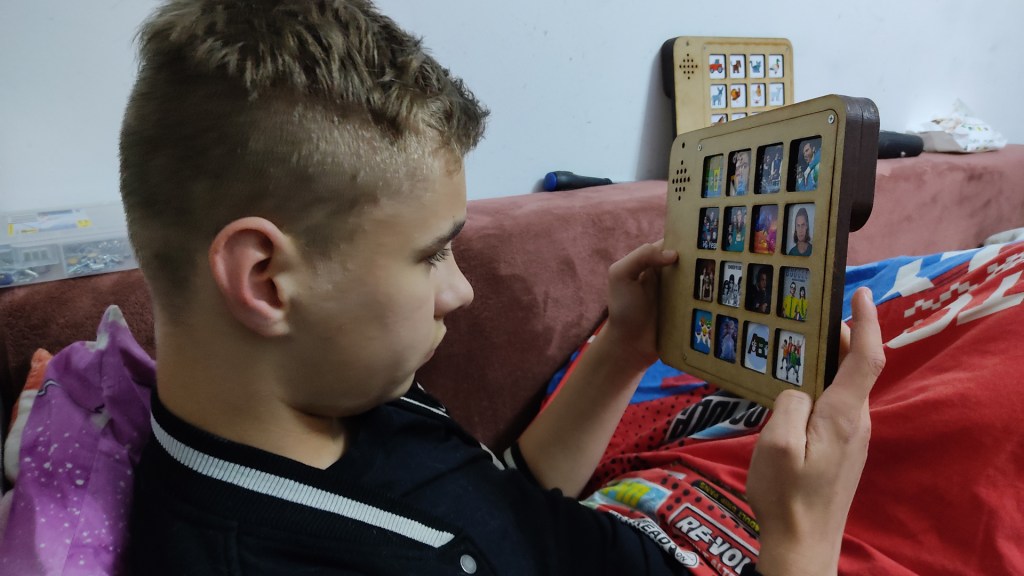
After switching on, on the back, you can call up sound files via the sixteen membrane keys.
These can be information to make yourself noticed, e.g. “I am thirsty”, just for fun, e.g. “Music” or learning things such as “Recognise animals or colours”.
Adjust the volume in four steps. Simply press button 1,2,3 or 4 for 2 seconds, until the sound file is played as confirmation. 1 stands for silent and 4 for loud.
After 5 minutes, the board will tell you if you have forgotten to switch it off. The battery voltage is also monitored and a message will tell you when the PECS board needs to be charged.
The enclosure construction
Here is the Updated Version
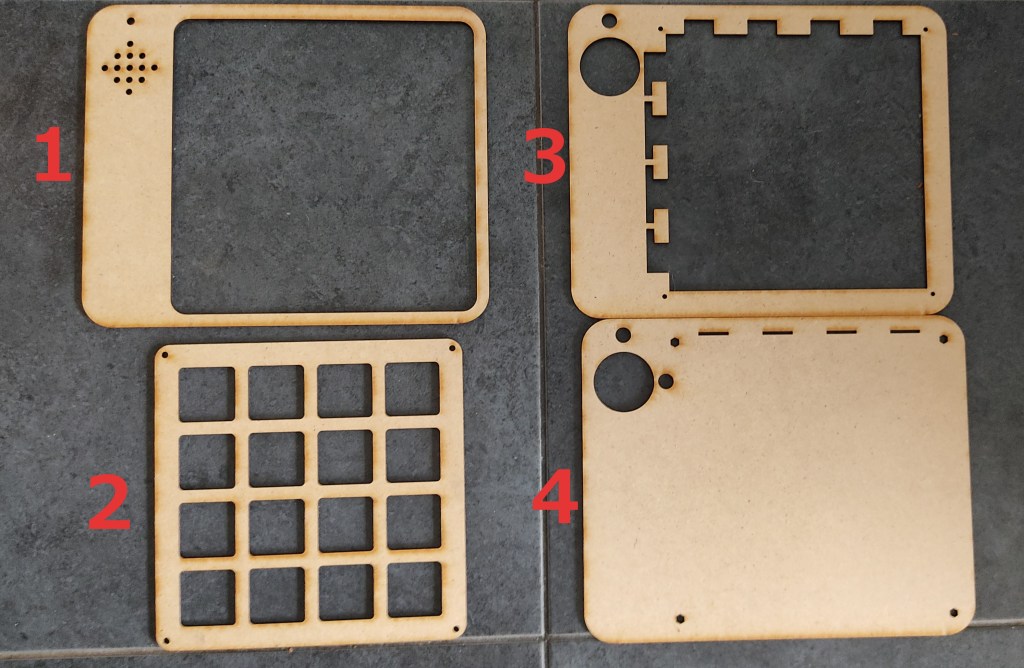
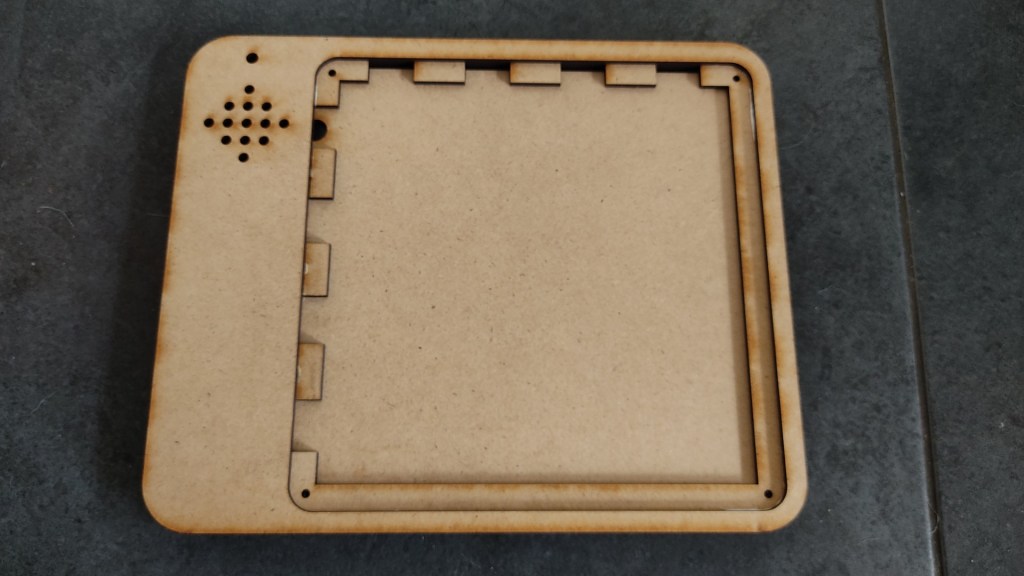
The enclosure is made of 3mm MDF boards that have been laser-cut. Of course, it should also work with a hobby saw.

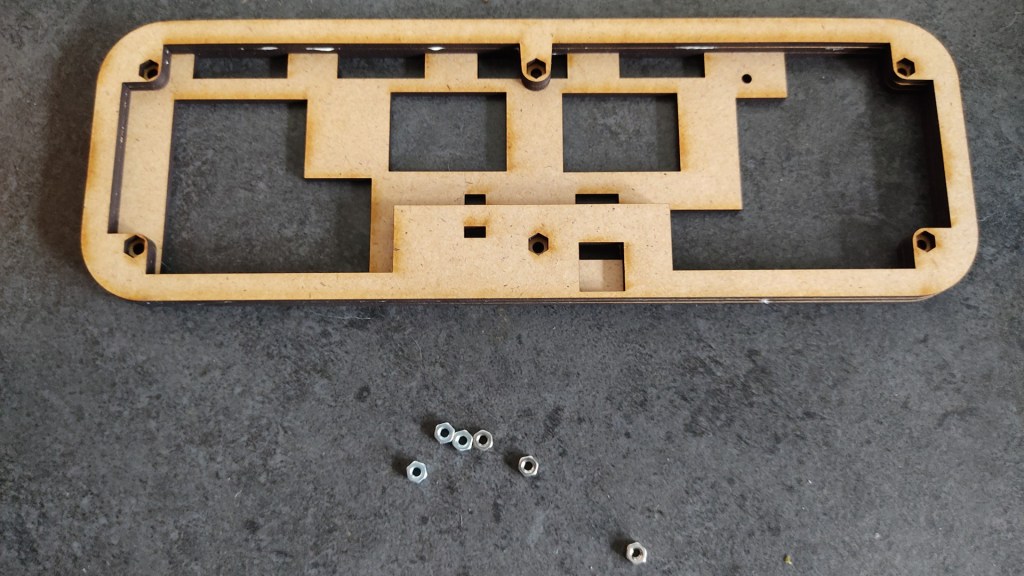
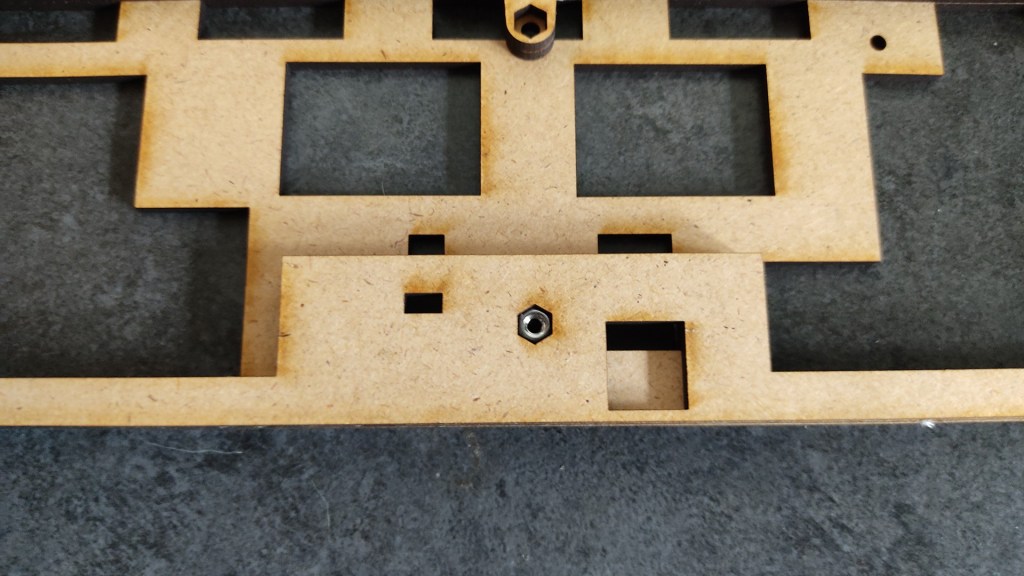
“1” is the lowest part. Part “2” and part “3” are glued on top of it. This then looks like this. The six M3 nuts are then used in part 3.
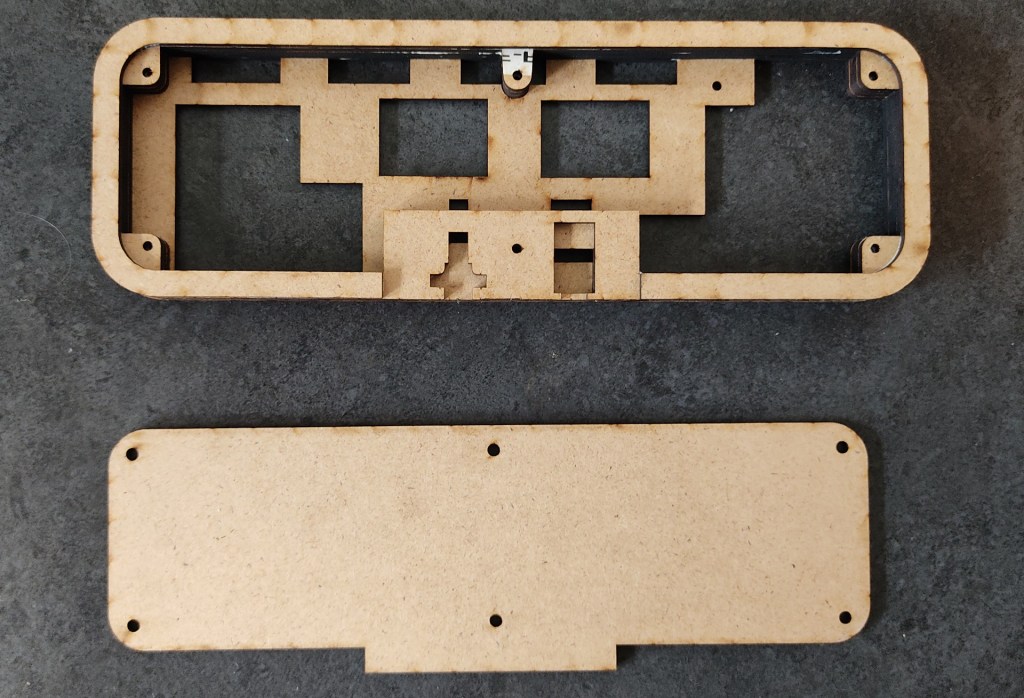
now glue part “4” and “5”. This completes the bottom part.
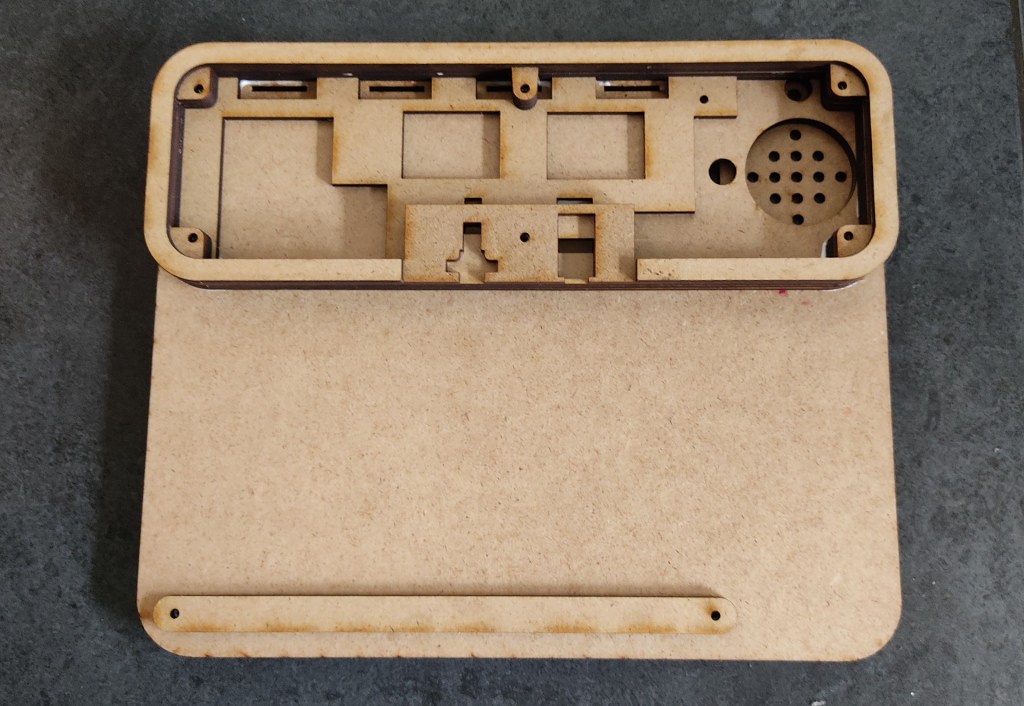
The front part
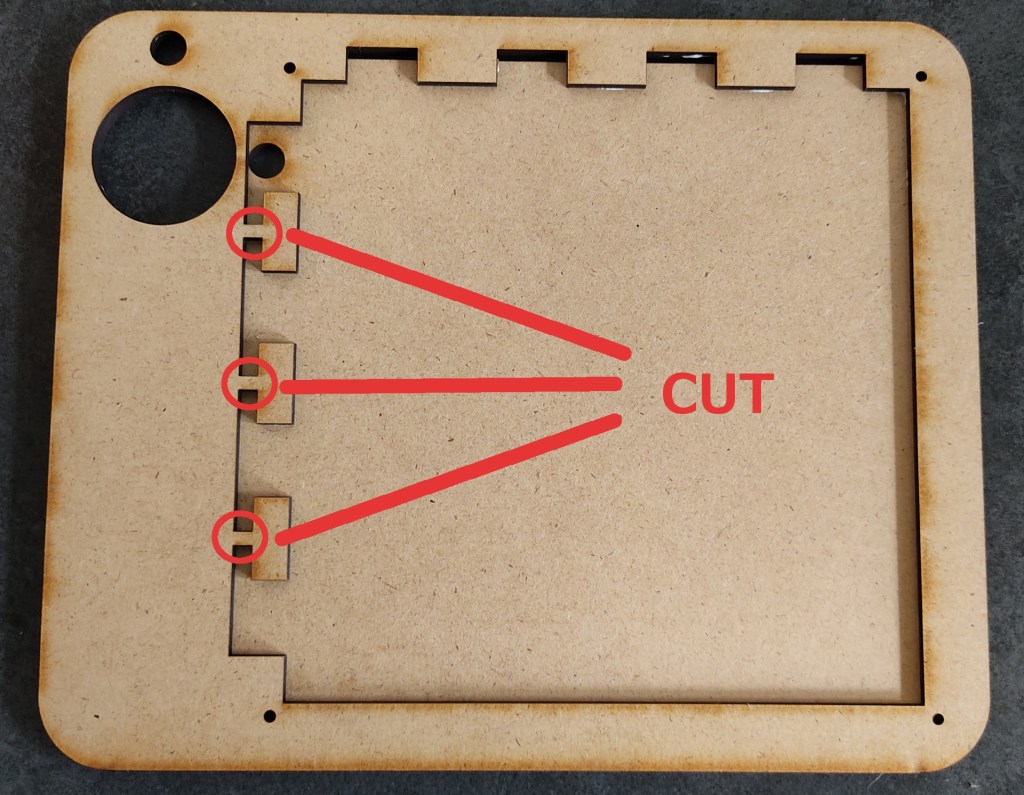
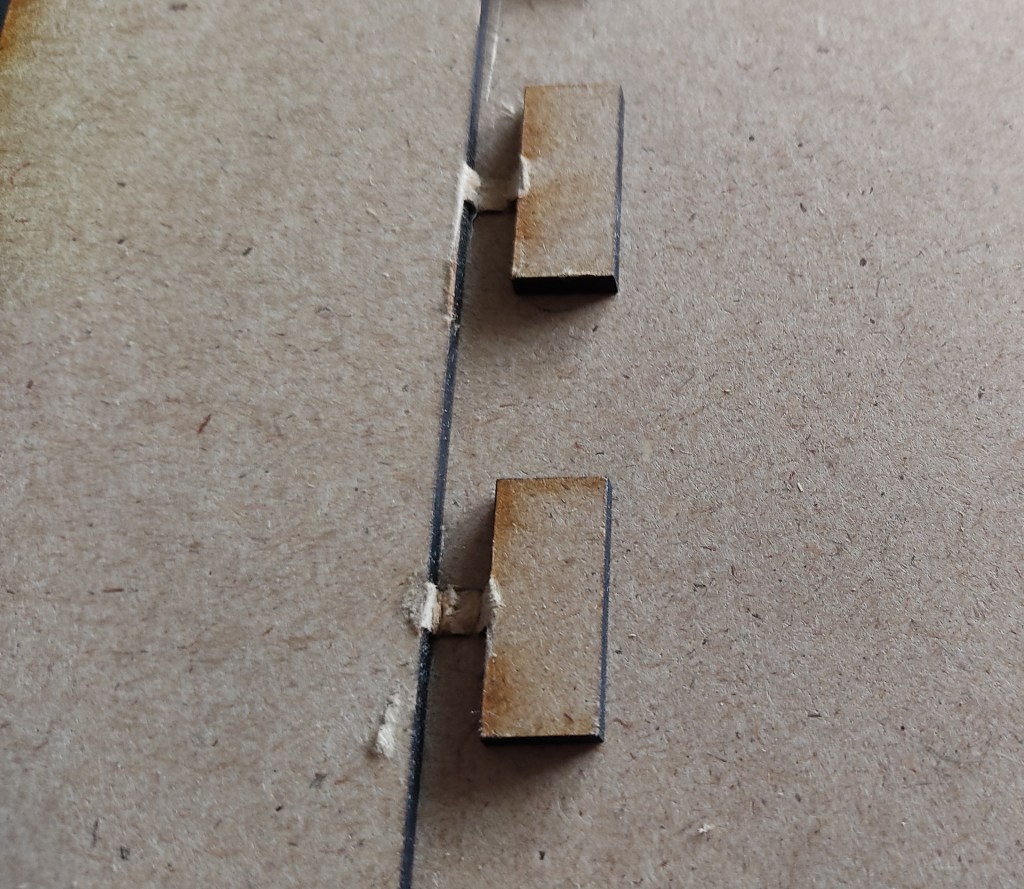
Part “3” is glued to part “4” first. The circled things must be removed with the help of a cutter or side cutter.
On the back of “1”, insert two M3 nuts at the bottom and glue on the elongated wooden part so that they no longer fall out.
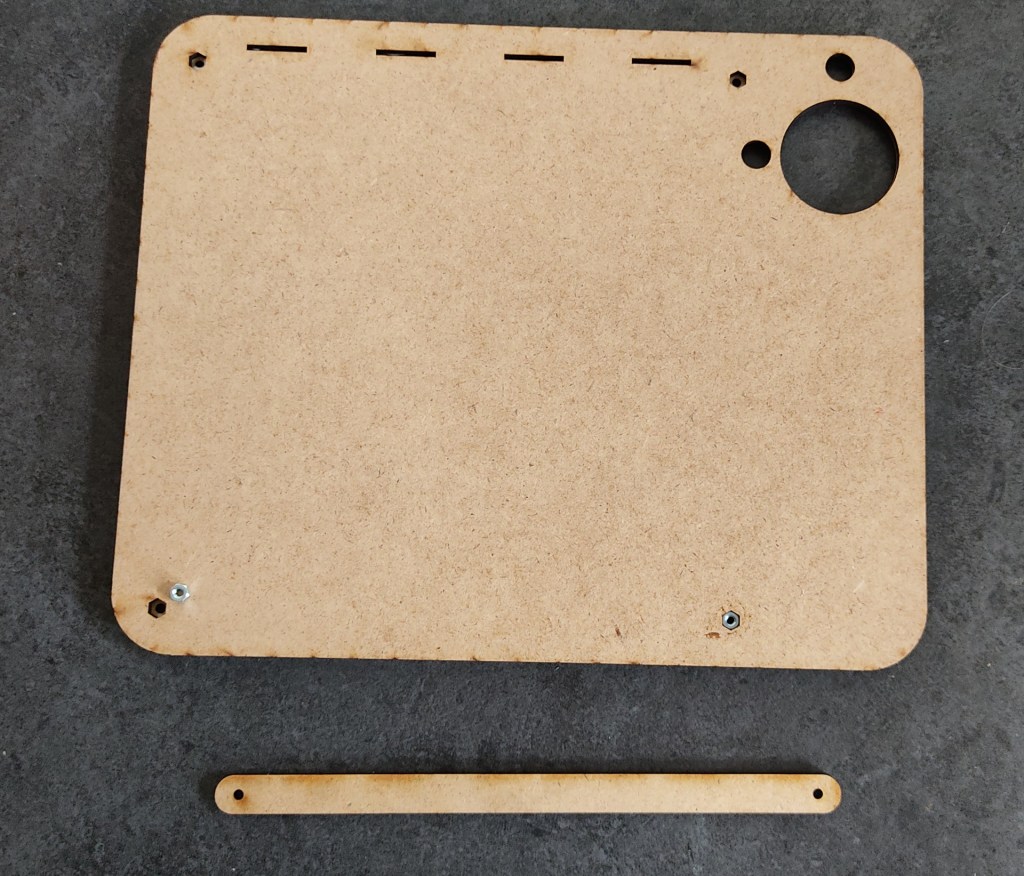
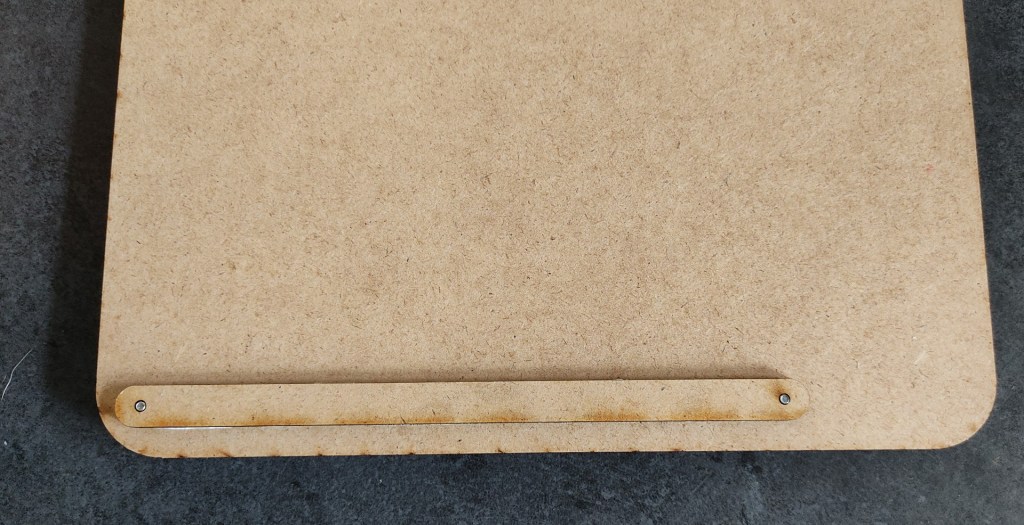
Now “1” can be glued on.
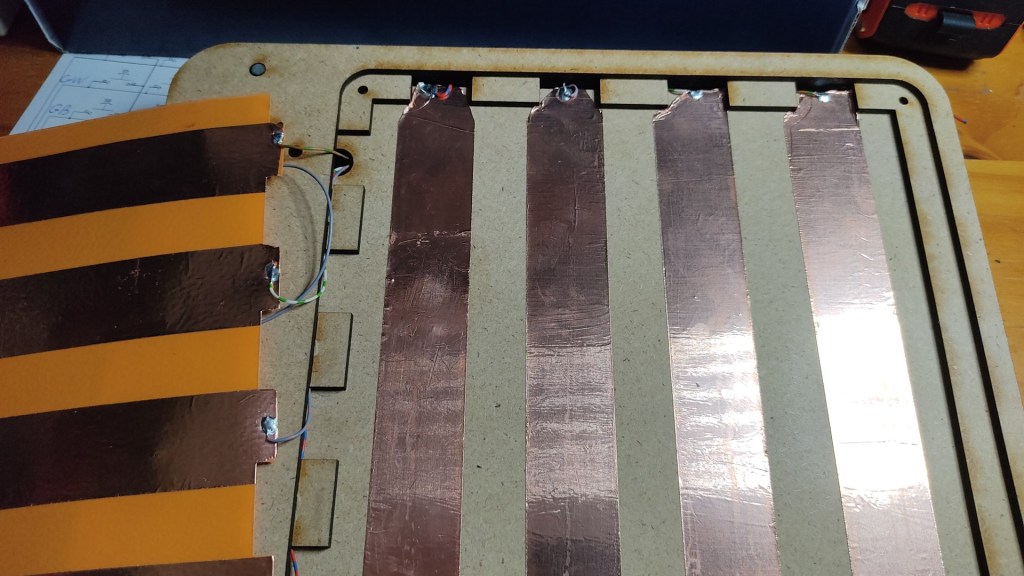
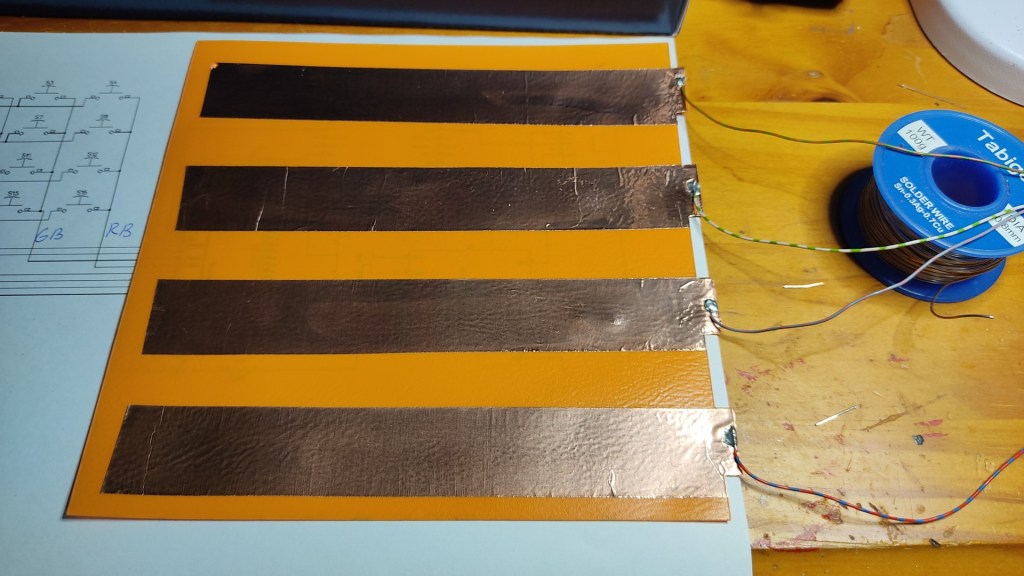
Copper tape from 10mm width works. mine is a little wider, but this is not a problem.
Four pieces cut to size and stick as shown in the photo.


Glue the bottom part with the top part and the enclosure is completed.
Before gluing the bottom part, do not forget the last 2 nuts in part “4”, because they will hold the front cover.
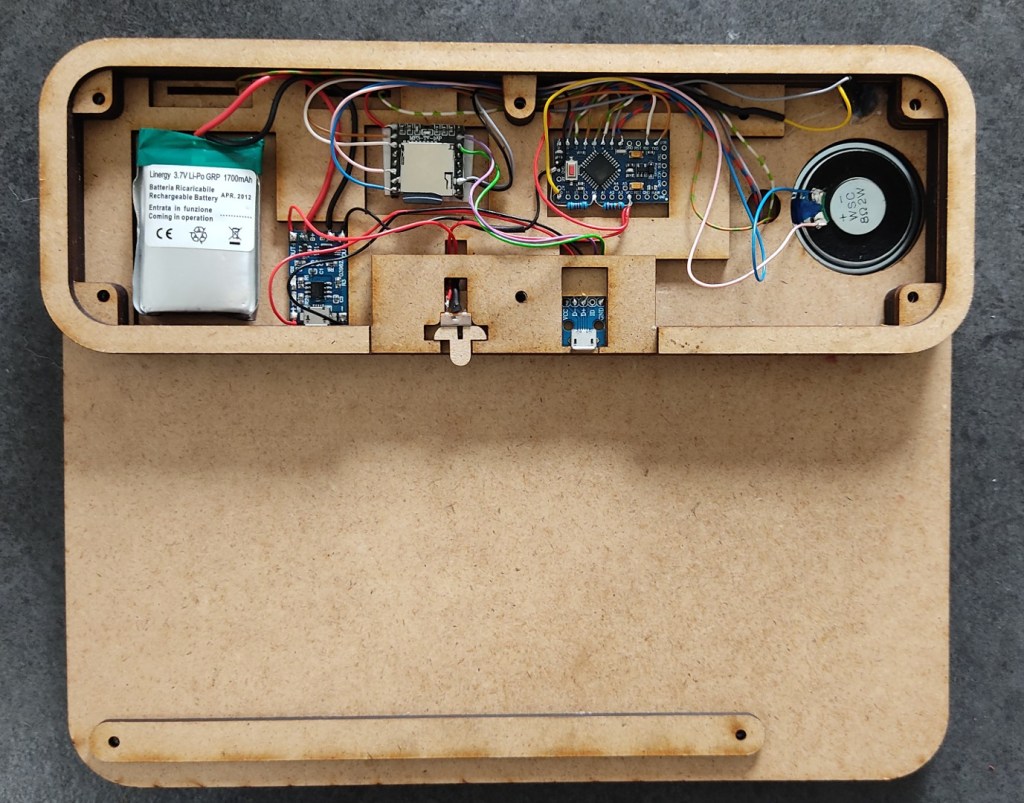
Electronics And Wiring
First the electronic plan and the parts.
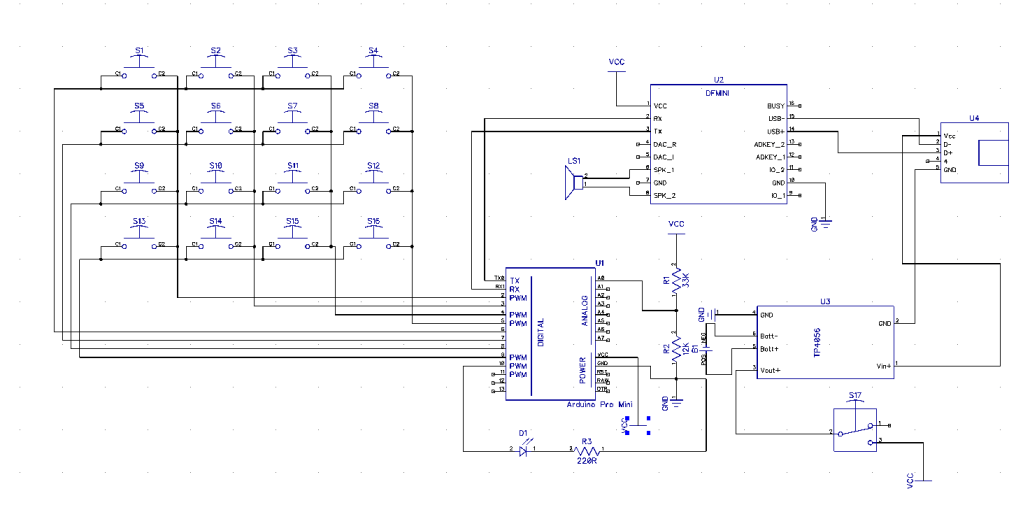
Part List:
- 1x Arduino Pro Mini 3.3V 8Mhz
- 1x DF Mini Player
- 1x Micro SD Card
- 1x TP 4056
- 1x Speaker 8Ohm 40mm diameter
- 1x Battery 3.7V 1700mAh (can be more or less Amps)
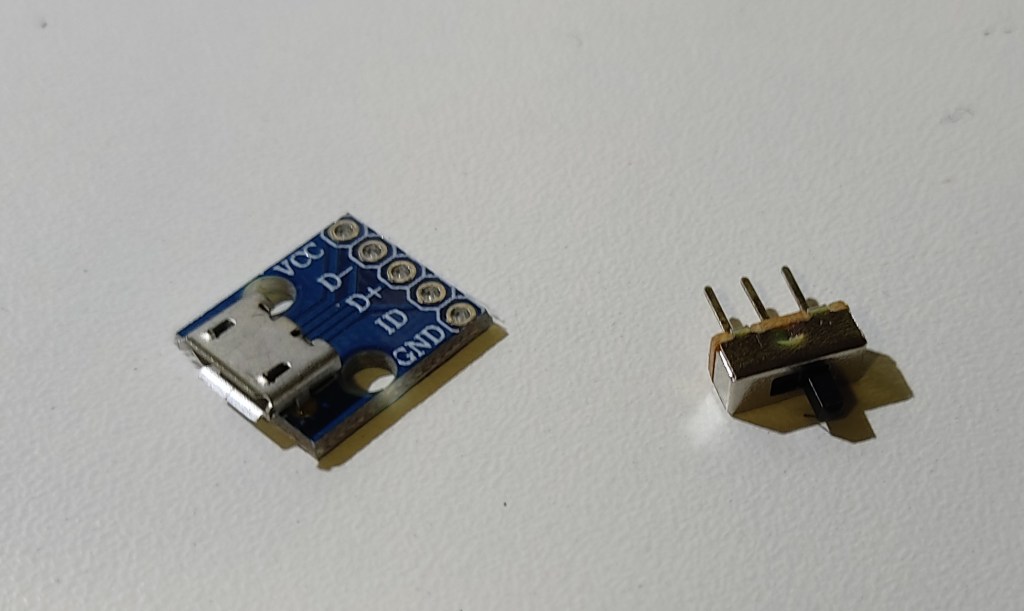
- 1x Micro USB Breakout Board
- 1x Micro Switch
- 1x 5mm Led
- 1x 220R Resistor R3
- 1x 12k Resistor R2
- 1x 33k Resistor R1
Test Setup
Preparing the keyboard. Individual wires are soldered to the ends of the glued-on copper strips and then fed through the openings to the back of the board.
Now solder wires to the micro USB breakout board and the micro switch.
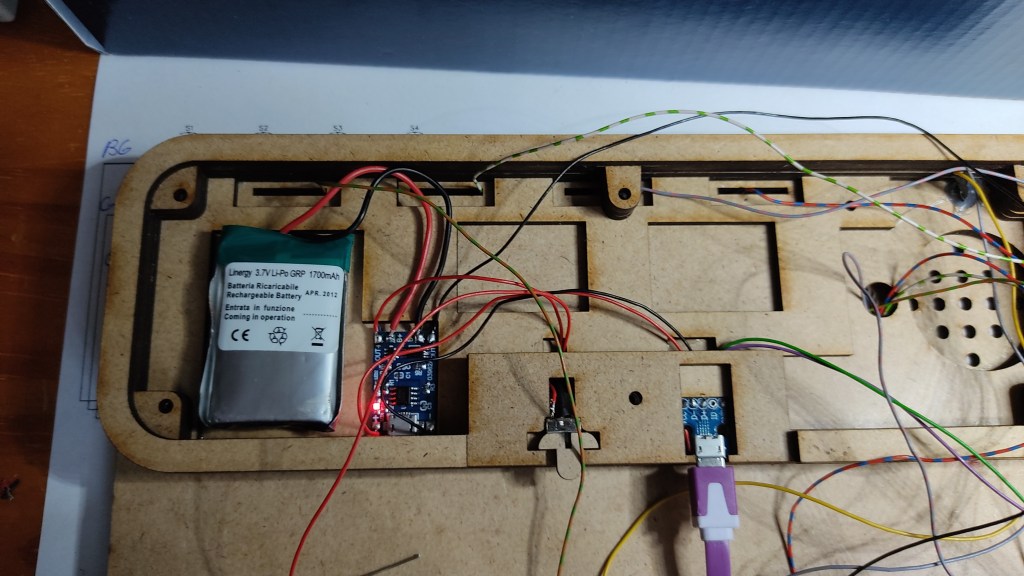
The battery and the charger board can now be glued in place with servo tape. A quick test to see if the battery is charging.
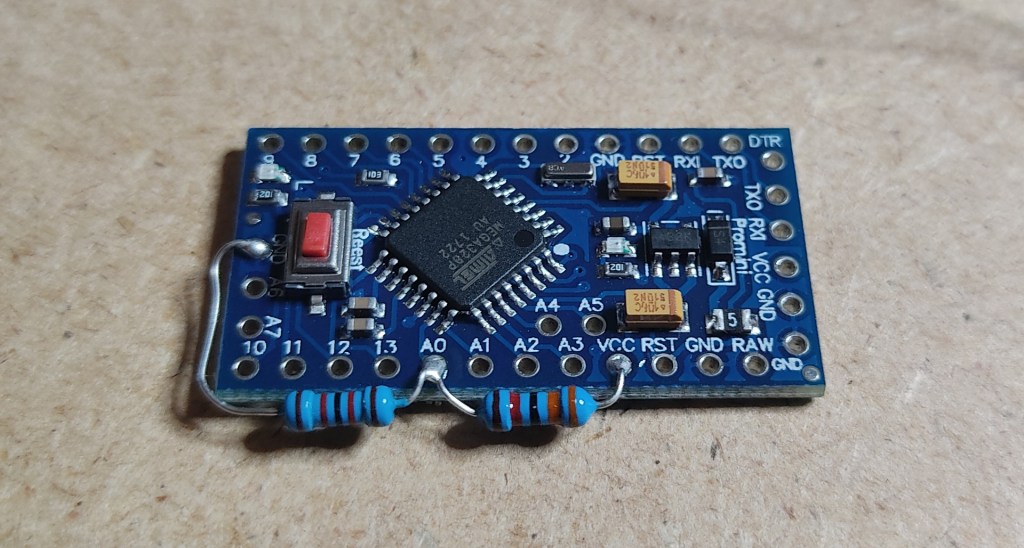
Now the voltage divider, consisting of two resistors, is attached to the Arduino. This is for battery monitoring.
The PRO MINI and the DF MINI PLAYER are now attached with servo tape at the designated place.
Here you can also see the switch and the micro-USB board.
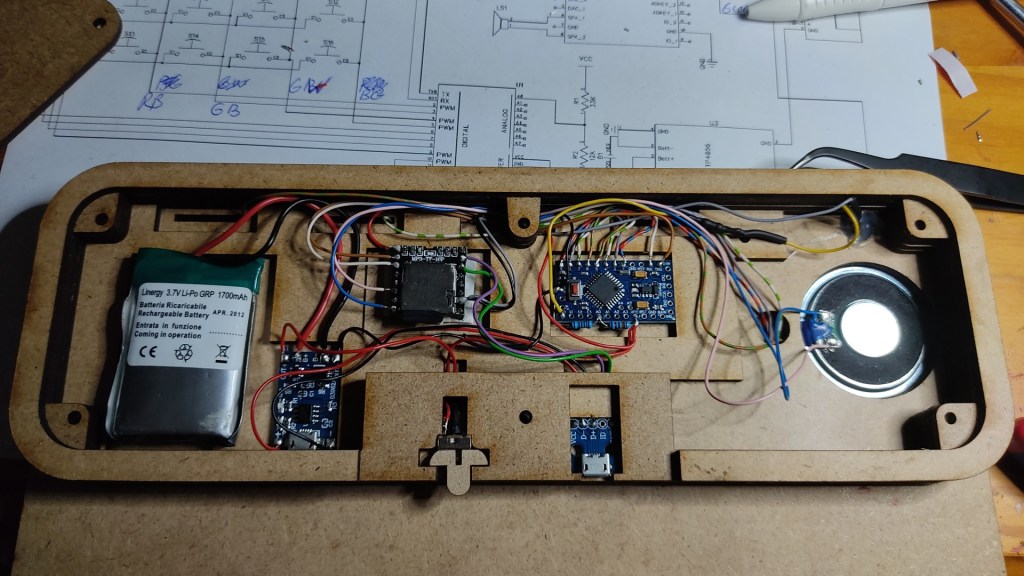
Glue in the LED and speakers, then wire everything according to plan. Now install the software and the board is up and running.
The Software can be found here https://github.com/awall9999/ScottCom
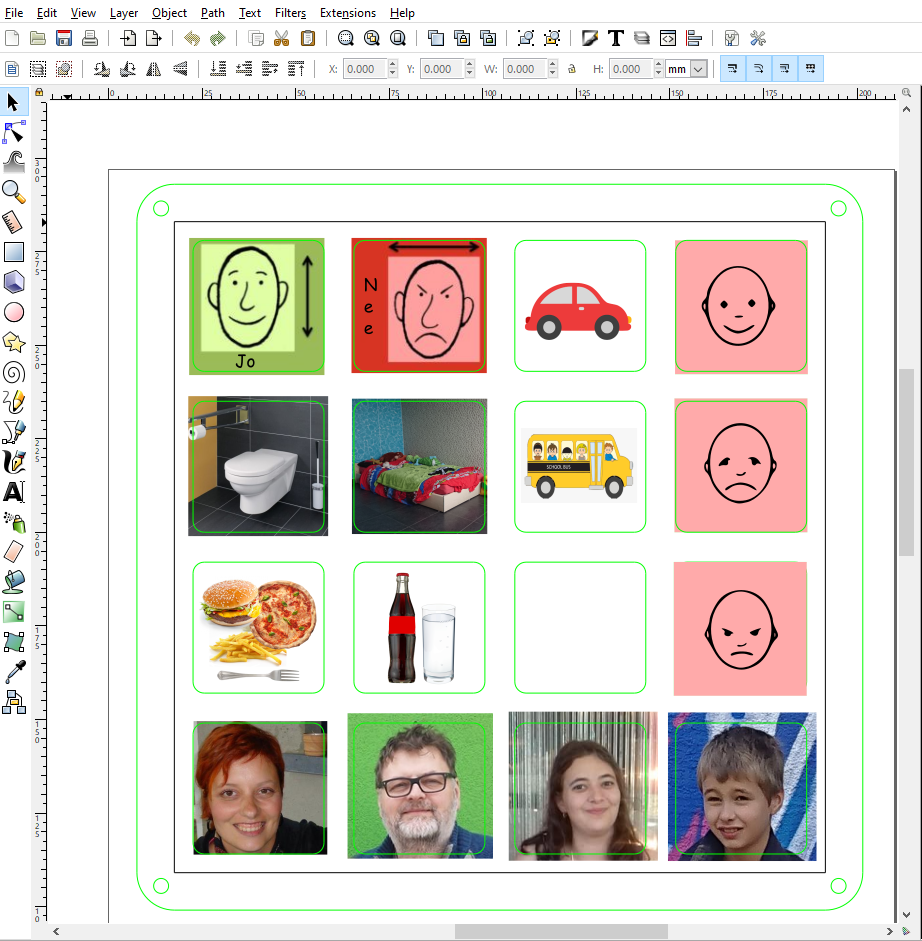
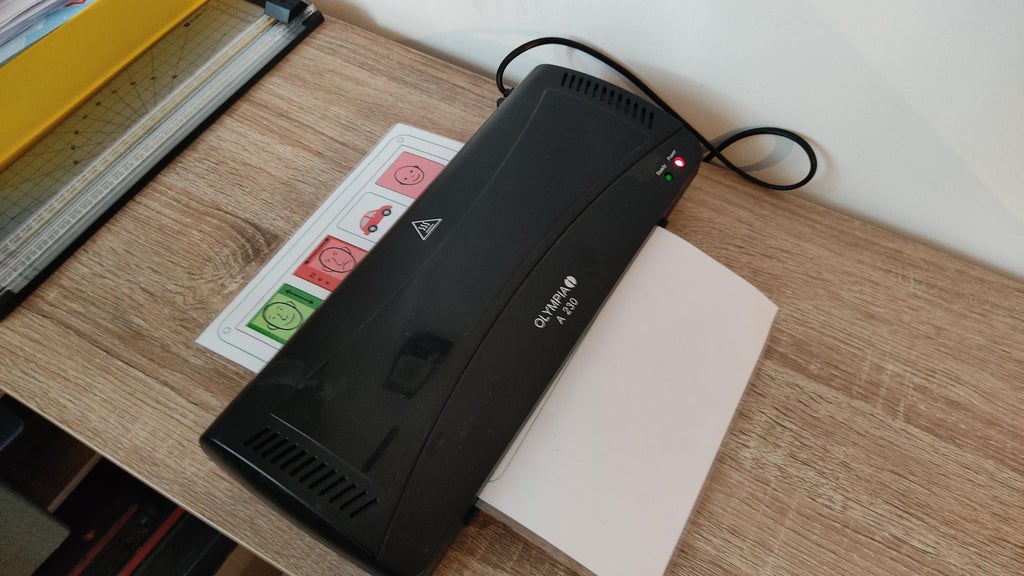
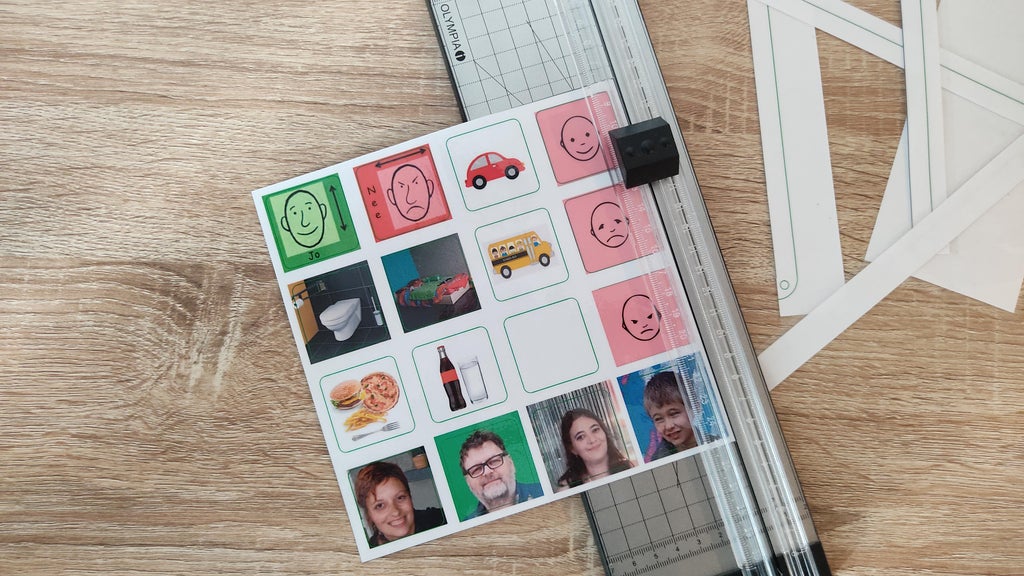
Cover Sheet
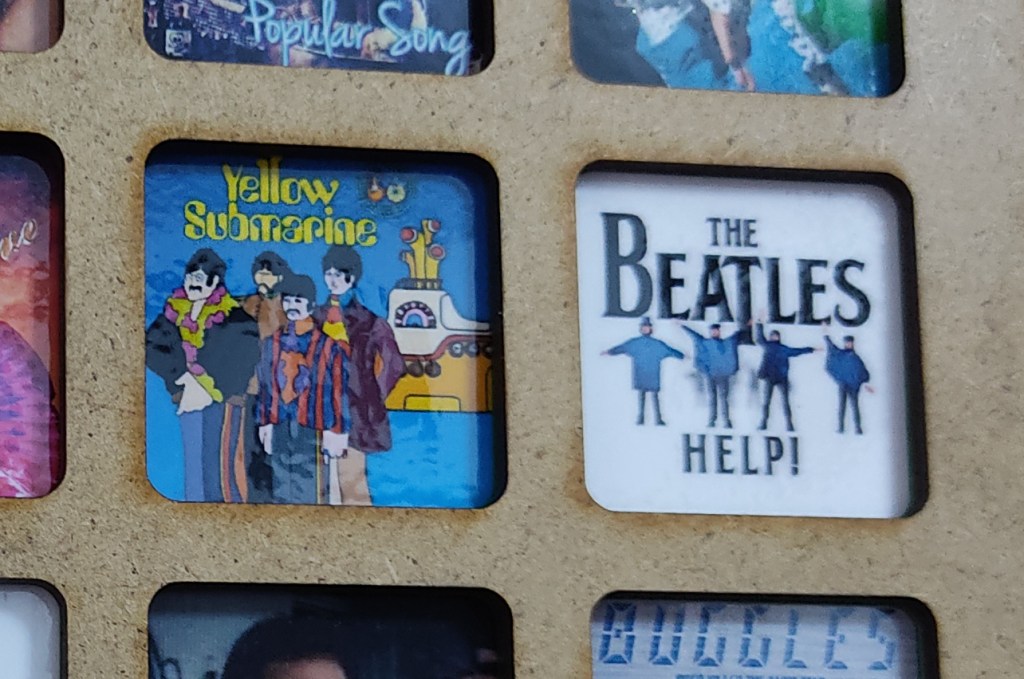
The cover sheet with the pictures is simply a printed picture for which a template has been created so that you can make them yourself without any problems. Afterwards, the sheet is simply sealed in laminating foil so that the pictures are protected against abrasion.
Alternatively, you can also stick a transparent film on the front.
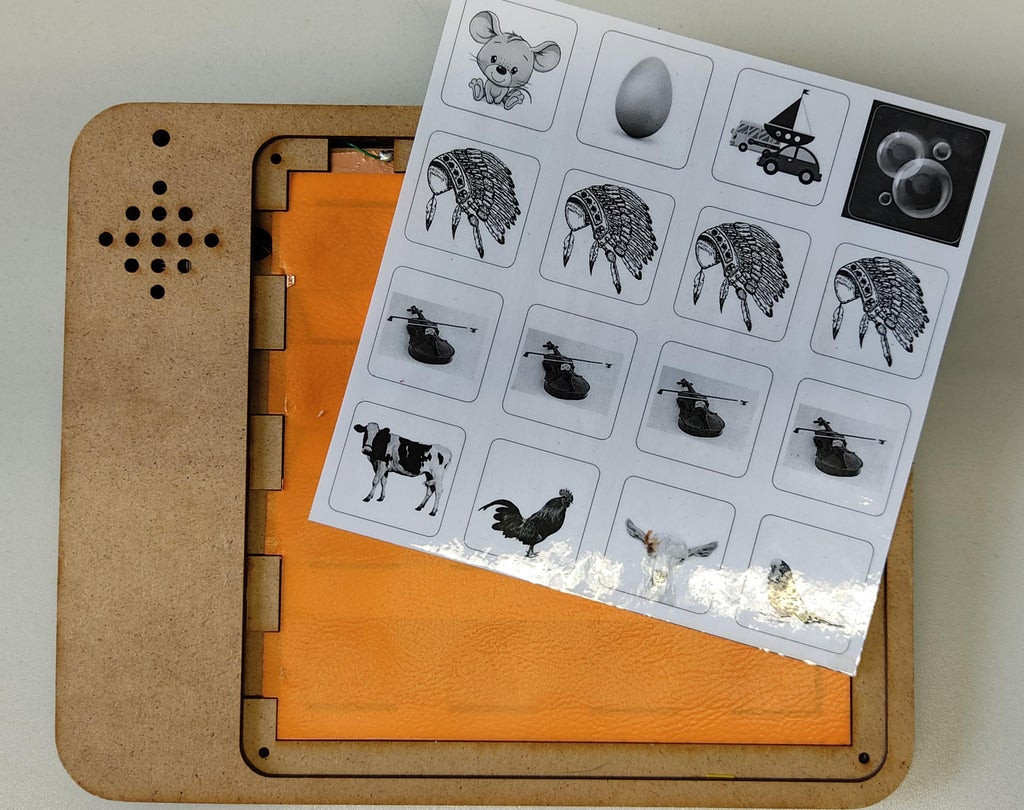
Cut off along the black line.
Now insert the sheet and screw the cover on.
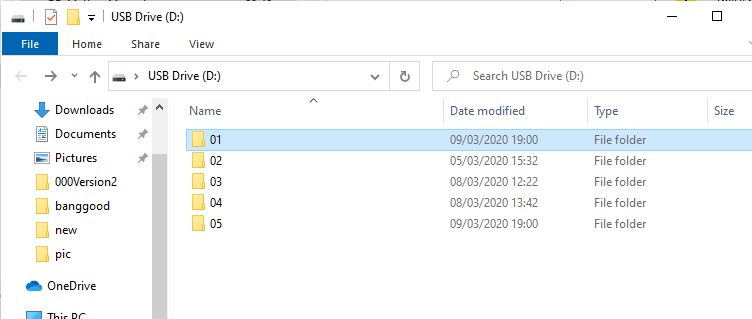
The file structure of the SD card in the DF mini Player
Connect the Pecs board with an micro USB Cable to a PC
The file folder 01 is accessed in the root directory, but you can create several, and then switch between the templates by renaming them.
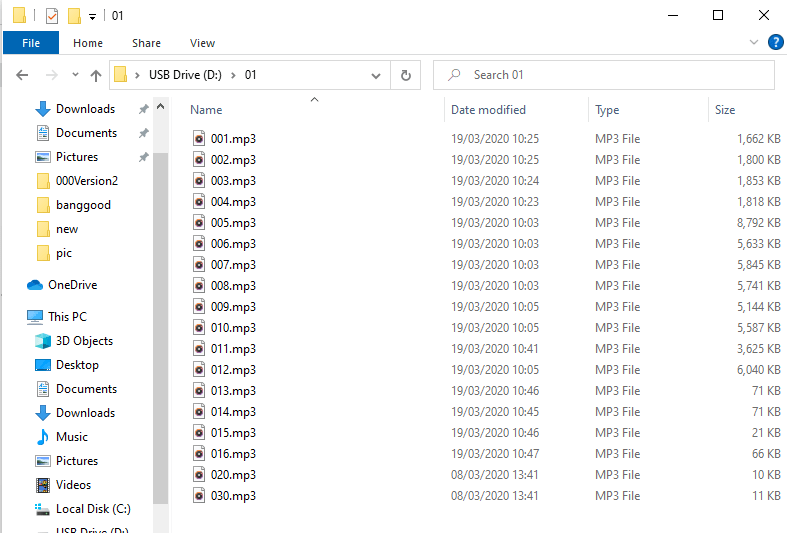
The MP3 files are then uploaded inside the file folder, where 001.mp3 stands for the first button and 016.mp3 for the last.
020.mp3 should contain a text that indicates low battery power (e.g. Battery Low).
030.mp3 and 031.mp3 shall contain texts indicating that the device has not been used for some time but is still switched on (e.g. Hello, have you forgotten me).
Things To Do
- Adding the possibility to adjust the volume. (Done)
- Stopping the sound file by pressing the same button again (This can be advantageous for longer files).(Done)
- Remove the voltage regulator and the onboard power LED, from the Arduino, to send the board into standby. By removing these components, the power consumption will be reduced in sleep mode.
- Adding the possibility to switch between the sound folders.
The updates will then be available on my GITHUB.
It is best to always check Github, where I always post the latest changes.
https://github.com/awall9999/ScottCom
I hope you enjoyed this tutorial and could help someone with it.
Update
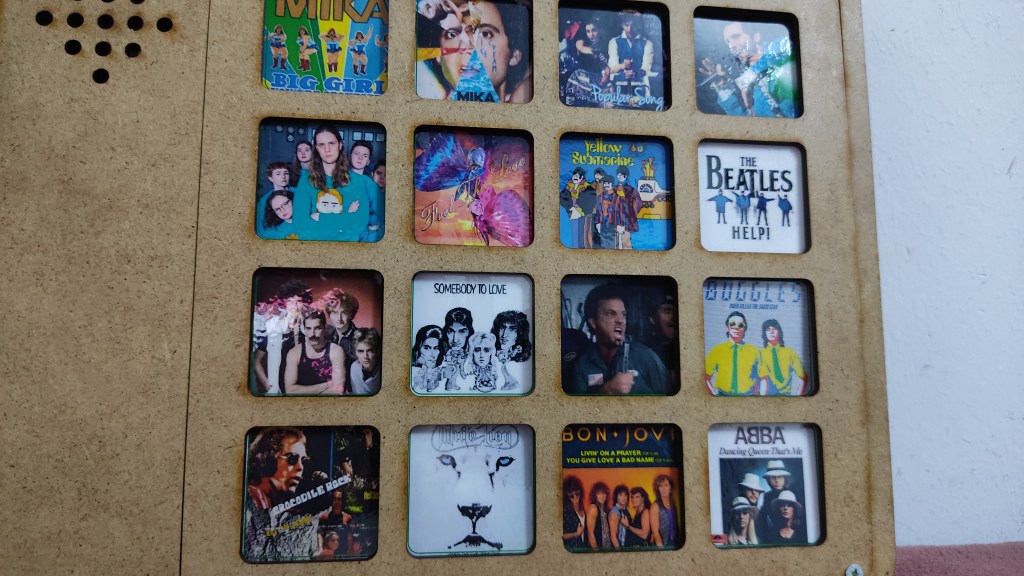
The PECS board can also be used as a music player or as a sound board. Here you can see Scott choosing his favorite music to chill to. Hopefully this won’t cause a copyright claim on YouTube 🙂