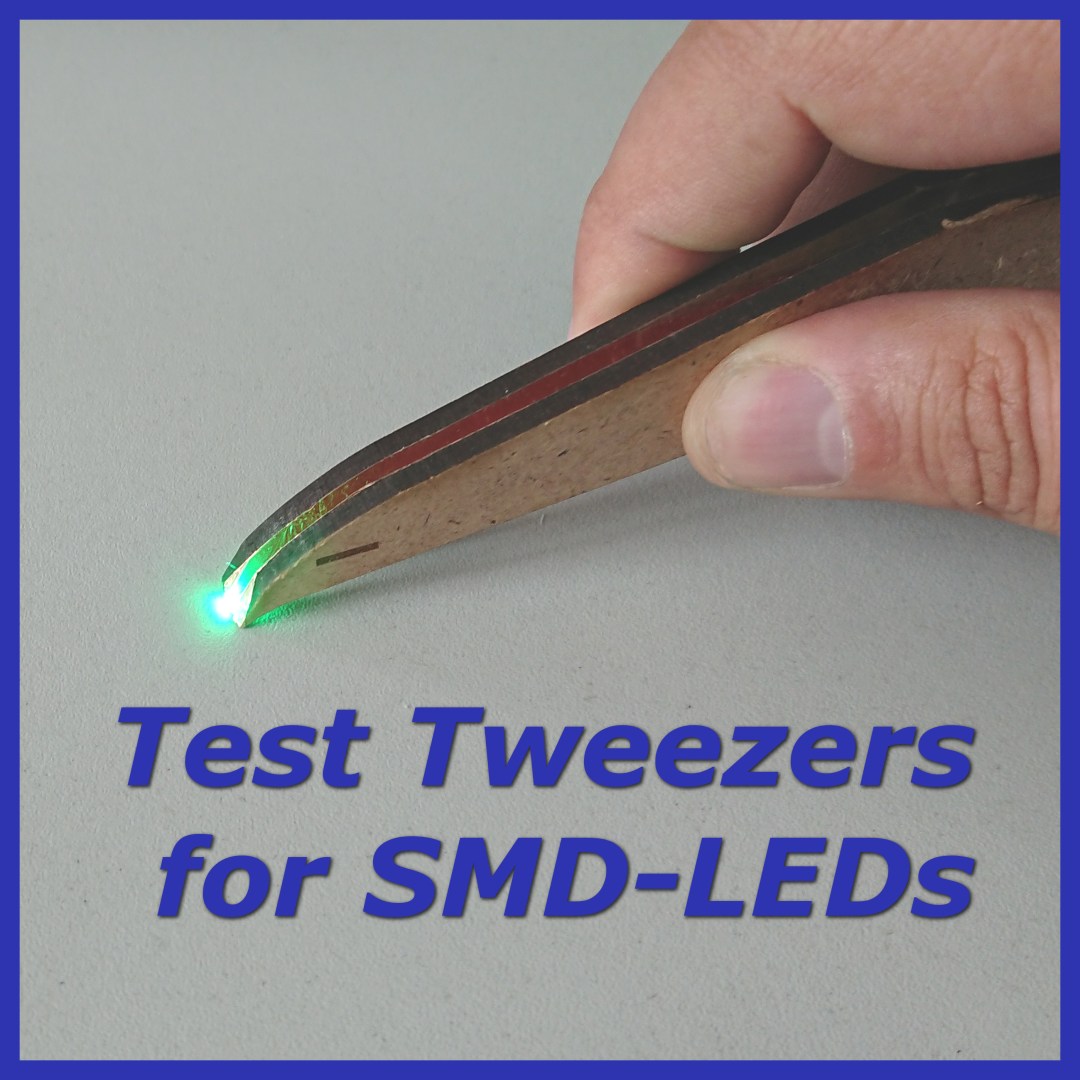
I rarely work with SMD LEDs, but I quickly realized that’s not easy, to find the polarity, and without putting them under power, you will never know the light color.
So I quickly built me this tester. It’s just a CR2032 battery between two parts of wood or plastic. To conduct the electricity I took a self-adhesive copper tape.
Step 1: Quick Cad Draw
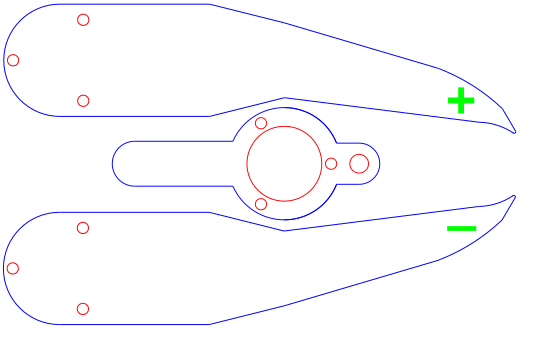
I use Qcad to draw the parts needed. I imported them to Inkscape to send the file to the laser cutter.
Nice clean parts, for a quick helping tool
Step 2: The Parts
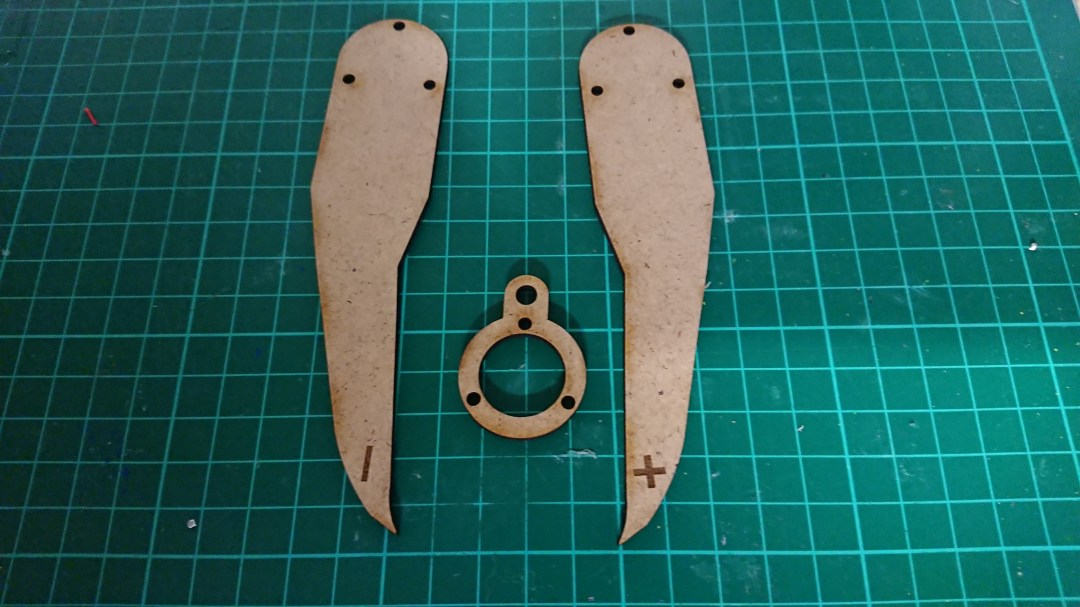
- 3mm – 3.5mm MDF or Plexiglas
- three screws M3 12mm
- three nuts M3
- Self-adhesive copper tape
- Adhesive tape
- One CR2032 battery


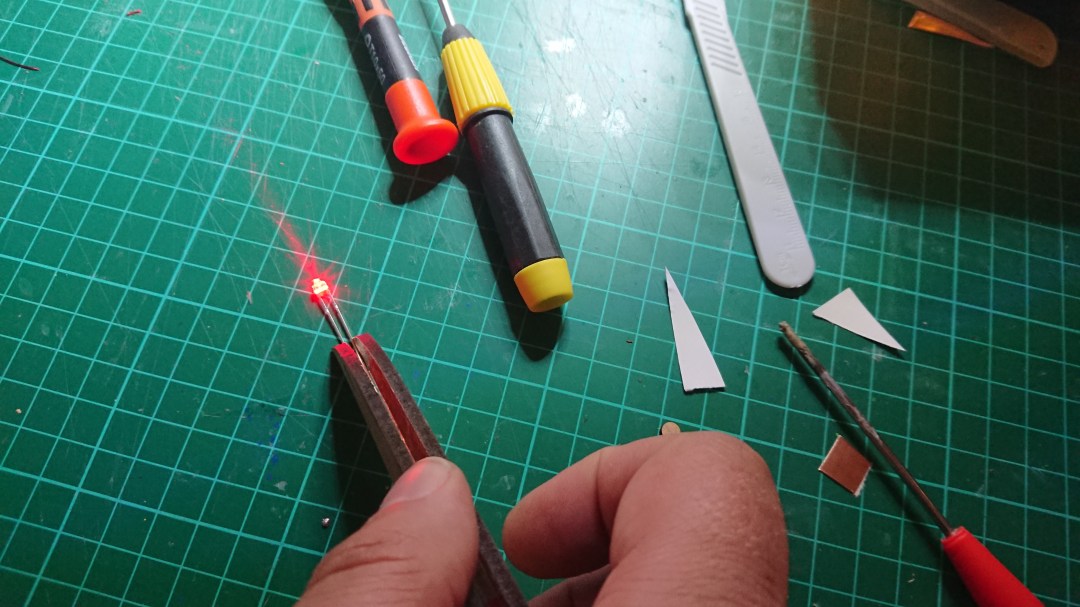
Cut 2 stripes of copper tape. As seen on the picture, make sure, that the tape does not cover the screw holes, otherwise you will get a short circuit.
Now remove the protective paper, and glue the copper on the inside of the two parts.
Use some tape to insulate the middle part of the copper. Do not cover the two extremities.
Take the three screws and pass them through and place the round part. Place the Battery (Check the polarity!)
With the 3 nuts, screw the last part of it and finished. As you can see, it does the job.
More Than Expected
You can even check normal LEDs with this SMD-LED Tester. Not bad for a tool, developed and built in less than an hour.
This build can also be found on my INSTRUCTABLES page. Klick here
